Handle a Voice Contact
On this page, you'll learn how to purchase, configure, and test a Twilio phone number to use with Flex.
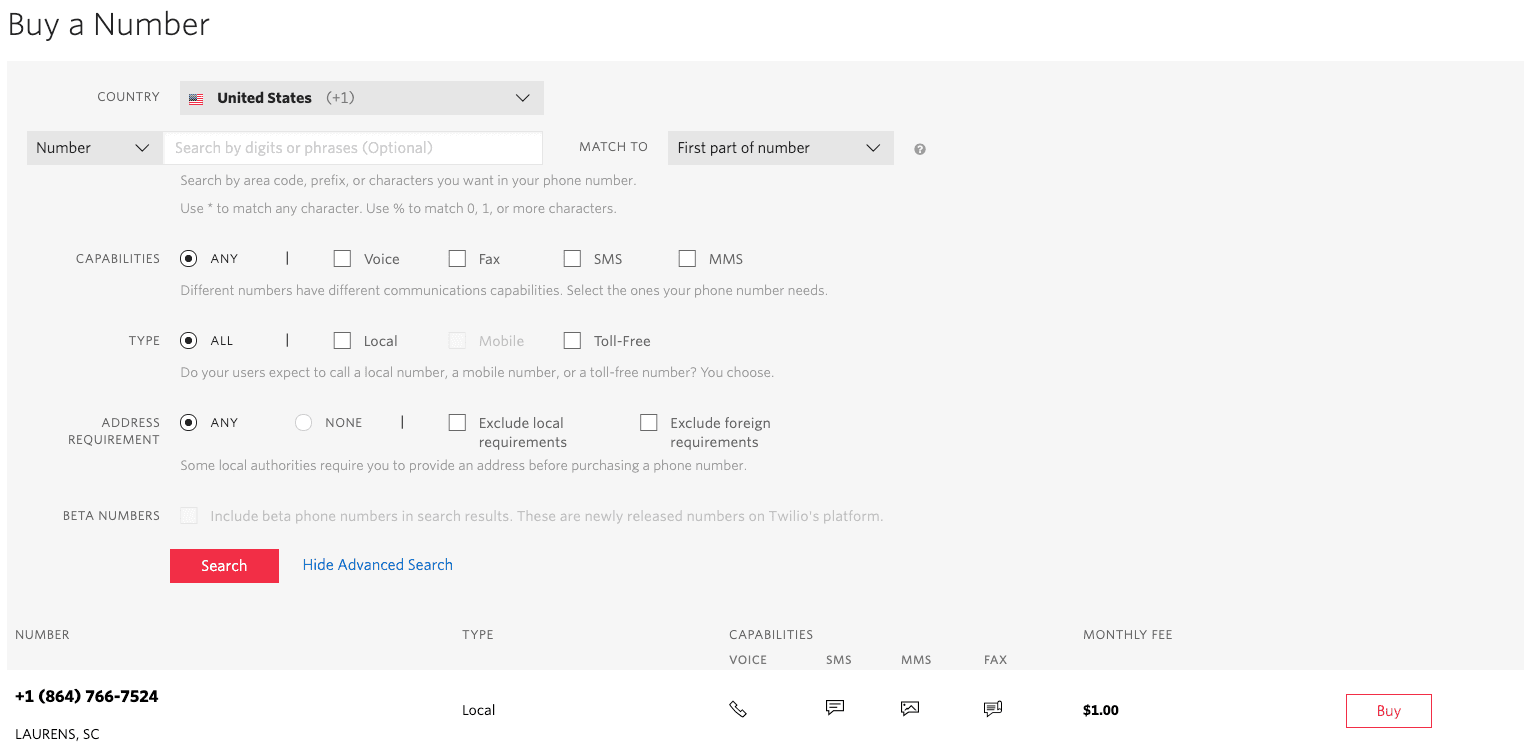
In order to provision more than one phone number, you must upgrade your Twilio Flex account. After upgrading, navigate to Phone Numbers > Buy a Number in the Twilio Console. You can filter for specific phone numbers based on your business needs.

If you want to use your phone number for messaging your customers, make sure it is SMS-enabled. You can learn about the different number types on the Core Concepts: Numbers page.

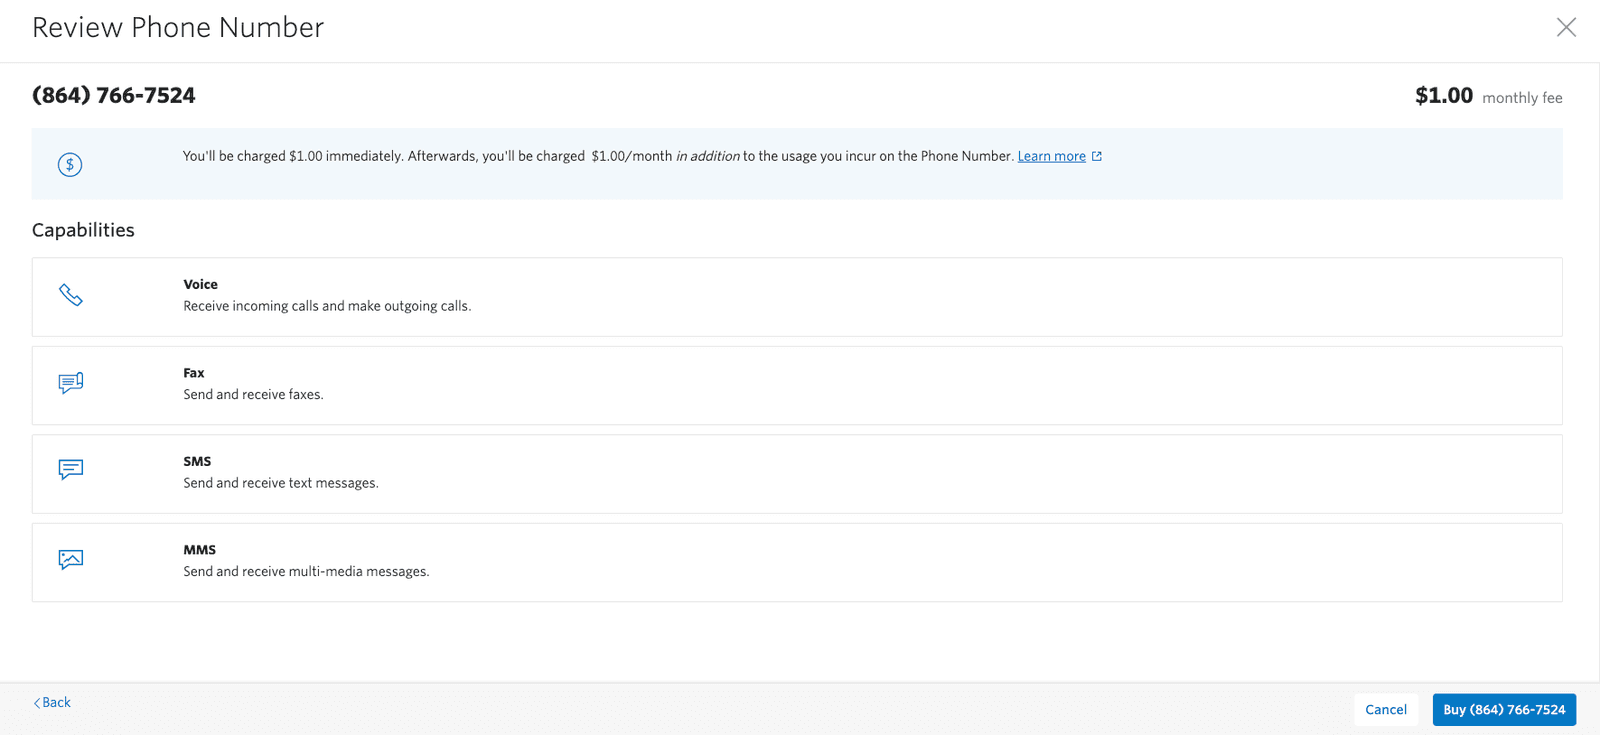
Upon successfully purchasing the phone number, you'll be redirected to that number's management page.
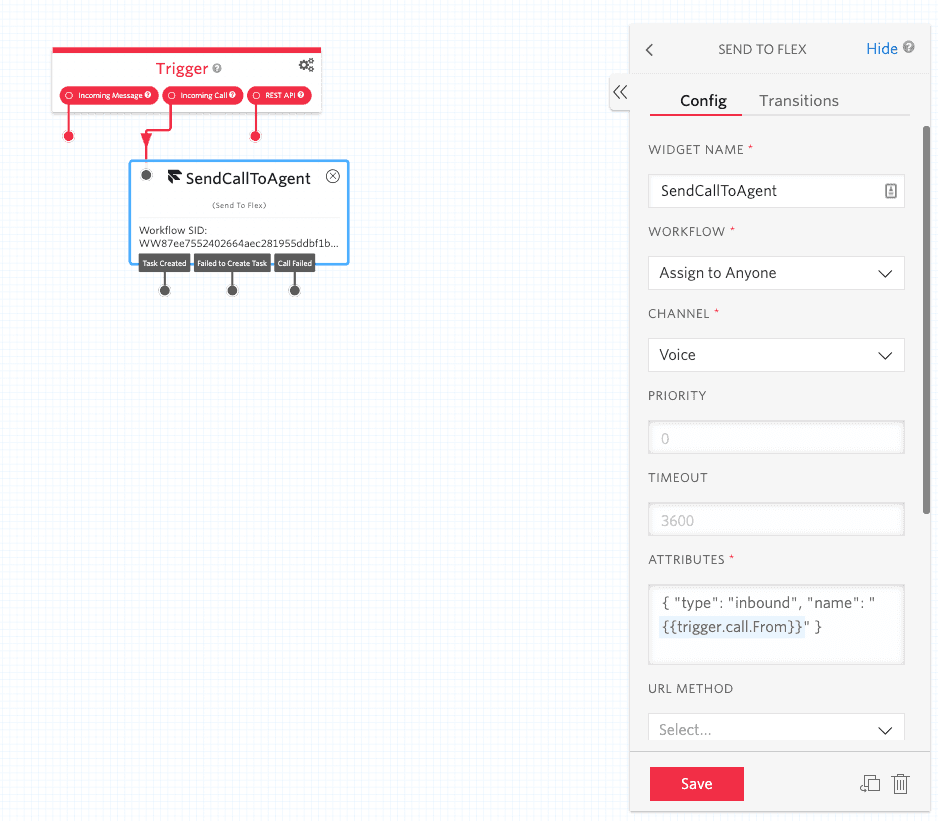
By default, the phone number that came with your Flex instance is configured with the Voice IVR Studio Flow for voice calls. This is just an example, and you can handle the voice calls with any Studio Flow that eventually routes them to Flex. Routing to Flex is implemented by invoking the Send To Flex widget, which sends the call to TaskRouter to start looking for a suitable agent to handle it.

To configure a new phone number for Flex:
- Open the phone number details from the Manage Numbers page in Console.
- Locate Voice and ensure the selection for Configure With is Webhooks, TwiML Bins, Functions, Studio, or Proxy.
- Under A Call Comes In, select Studio Flow, then Voice IVR (or any other Studio Flow that you have set up to send your calls to Flex).
- Click Save.
To confirm that your new phone number is properly configured, follow the steps in Answer a voice call in Flex.