Manage Conversations Chat Addresses
Info
Flex Conversations requires Flex UI 2.0. If you are on Flex UI 1.x, please refer to Chat and Messaging pages.
When you create a new Flex account, one default Chat Address is created out-of-the-box. Refer to the Test a Chat Address section below for information on how to use it with the demo application.
At some point, you might need additional Chat Addresses to handle your traffic. For example, you might be running multiple websites, or might be rendering your website in multiple languages and might want to route conversations differently per language.
In this case, we recommend creating a separate Chat Address for each use case.
You can create Chat Addresses via Flex Console > Manage > Messaging:
-
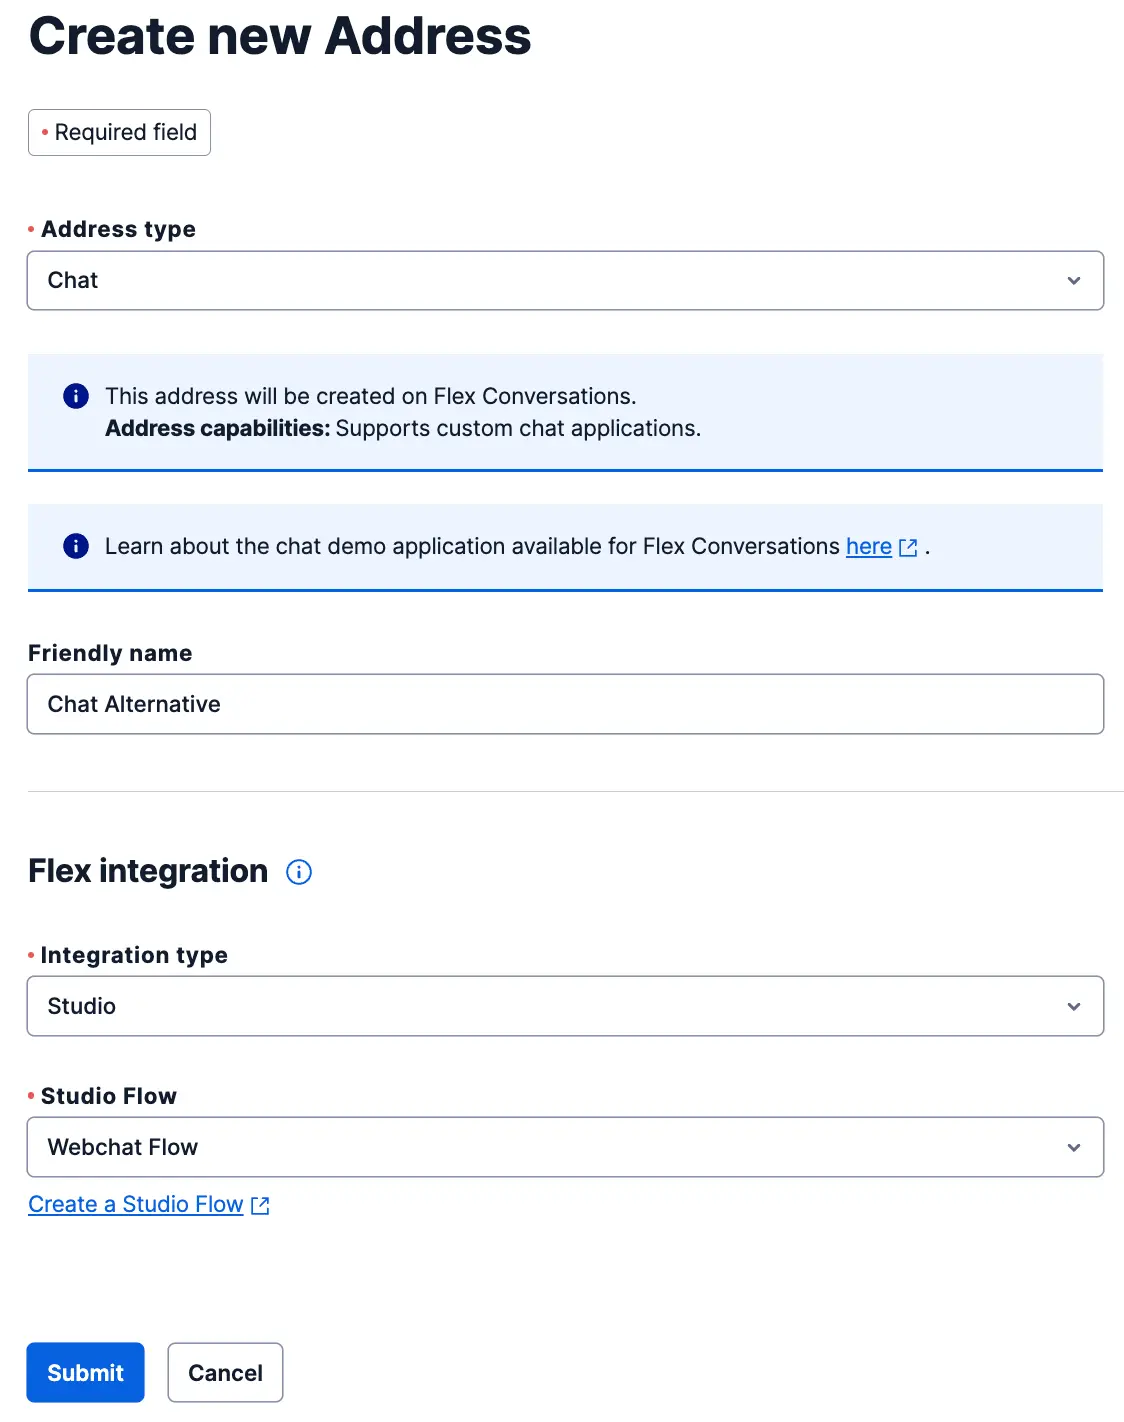
Click + Create new Address from the Conversations Addresses tab.
-
Select Chat as the Address type.
-
You can optionally enter a friendly name.
-
Configure the integration to Flex - either by using Studio or Webhook. The most common configuration is to integrate a Chat Address to Flex using a Studio Flow. Unless you have removed or reconfigured it, you should be good to use the out-of-box Studio Flow "Chat Flow." To learn more about configuring Studio Flows, see Configure pre-agent workflow with Studio.
-
Click Submit to save your new Flex Chat Address.
You can edit or delete Chat Addresses at any point using the Flex Console.
The quickest way to test your Chat Address is by using Webchat 3.x.x. You can try out webchat without building or deploying anything.
In Console, navigate to Flex > Channel management > Webchat. If you already have a deployment key, click Launch Demo to start a webchat. If you don't have a deployment key yet, create one, then click Launch Demo. Your chat appears in Flex UI as an incoming chat task. You can send and view messages as the agent and the customer to see how it works.