Studio Flows API Quickstart
The quickest way to get started with the Studio Flows API is to create a Flow using the Studio Canvas in Console and then use the Flows API to fetch and update the Flow's JSON Definition.
Note: The examples in this quickstart use cURL, but complete code samples for the Twilio SDKs and the Twilio CLI are available in the Studio REST API v2 docs.
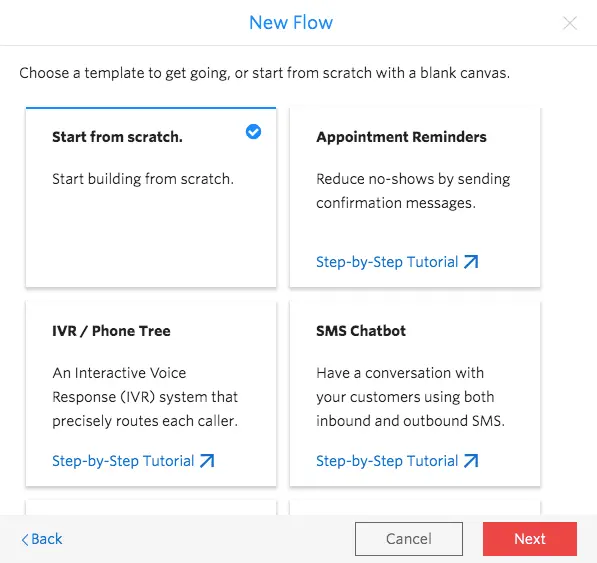
Start by creating a new Flow in Console. Select the Start from scratch template and click Next, which will automatically create and load a new blank Flow in the Studio Canvas.
Use the Flow SID from the newly created Flow's URL to fetch the definition from the API.
Example using cURL:
curl https://studio.twilio.com/v2/Flows/FWXXXXXXXXXXXXXXXXXXXXXXXXXXXXXXXX -u ACCOUNT_SID:TOKEN
Results:
1{2"status" : "published",3"friendly_name" : "My first flow",4"sid" : "FWXXXXXXXXXXXXXXXXXXXXXXXXXXXXXXXX",5"revision" : 1,6"date_updated" : null,7"account_sid" : "ACXXXXXXXXXXXXXXXXXXXXXXXXXXXXXXXX",8"errors" : [],9"url" : "https://studio.twilio.com/v2/Flows/FWXXXXXXXXXXXXXXXXXXXXXXXXXXXXXXXX",10"date_created" : "2020-01-15T18:17:38Z",11"links" : {12"revisions" : "https://studio.twilio.com/v2/Flows/FWXXXXXXXXXXXXXXXXXXXXXXXXXXXXXXXX/Revisions"13},14"commit_message" : null,15"definition" : {16"flags" : {17"allow_concurrent_calls" : true18},19"initial_state" : "Trigger",20"description" : "A New Flow",21"states" : [22{23"properties" : {24"offset" : {25"y" : 0,26"x" : 027}28},29"transitions" : [],30"name" : "Trigger",31"type" : "trigger"32}33]34},35"valid" : true36}37
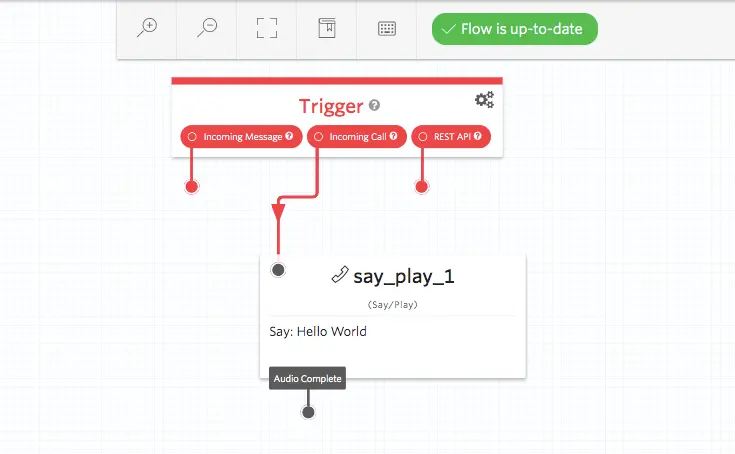
Add a Say/Play Widget to the definition and run a Flow update command.
To connect the Say/Play Widget, add its JSON as a new item in the states array, and set the Widget's friendly name to the next property of the Trigger's incomingCall transition:
1...2{3"next" : "say_play_1",4"event" : "incomingCall"5}6...
Complete code example:
1DEFINITION=$(cat << EOF2{3"flags" : {4"allow_concurrent_calls" : true5},6"description" : "A New Flow",7"states" : [8{9"properties" : {10"offset" : {11"x" : 0,12"y" : 013}14},15"name" : "Trigger",16"type" : "trigger",17"transitions" : [18{19"event" : "incomingMessage"20},21{22"next" : "say_play_1",23"event" : "incomingCall"24},25{26"event" : "incomingRequest"27}28]29},30{31"transitions" : [32{33"event" : "audioComplete"34}35],36"type" : "say-play",37"properties" : {38"loop" : 1,39"say" : "Hello World",40"offset" : {41"x" : 100,42"y" : 20043}44},45"name" : "say_play_1"46}47],48"initial_state" : "Trigger"49}50EOF51)5253curl -X POST https://studio.twilio.com/v2/Flows/FWXXXXXXXXXXXXXXXXXXXXXXXXXXXXXXXX \54--data-urlencode "CommitMessage=First update" \55--data-urlencode "Definition=$DEFINITION" \56--data-urlencode "Status=published" \57-u ACCOUNT_SID:TOKEN58
Info
To import the Flow into another account or subaccount, just change the credentials to use the receiving account's Account SID and Token.
Now that the Flow has been updated via the API, reload the Flow in the Studio Canvas to see the updated layout with the new Widget in place.
Now you're ready to try some real world examples for your use case. Be sure to download the latest version of our server-side SDK for your language — or update your Twilio CLI — and explore the rest of the API.